Confession: I've (almost) always had an extreme dislike for desks. When I did my student teaching, my cooperating teacher had tables, and she loved them. I liked the tables, but I thought desks would work fine too.
And then I got desks. Books and assignments would be "eaten" by these desk monsters. Students were possessive over their space. The desks were big and took up a large portion of my classroom. And, if I had a dime for every time I heard "So-and-so stole my pencil".....
I put up with my dreadful desks for two years. Then, I found out I was moving from fourth grade to third, and therefore, I was moving classrooms. It was the perfect time to ditch my desks for tables. I talked with my head custodian, and he helped me trade out twenty-something desks for five tables. Obviously, with the switch, I had to change the way we organized and managed student supplies. My system is ever-changing, but here's a look at how I organize and manage student supplies with my flexible seating classroom. I know every classroom is different, but I'm hoping you can take a few ideas and transform them into something that works for you!
**Side note: These pictures are from a couple of weeks ago when I was in the home-stretch of setting up my classroom. But, it's the weekend, I have a few minutes to blog, and we're rolling with it!
Organizing Supplies
I teach in a suburban community, and my students bring quite a few supplies with them at the beginning of the year. We use a community system for most of our supplies; if it is a common supply, we put it in a tub and share it! This year, I had students put their supplies away at our Meet Your Teacher Night. This worked so well with our community system, and I certainly will continue to do it in the future.
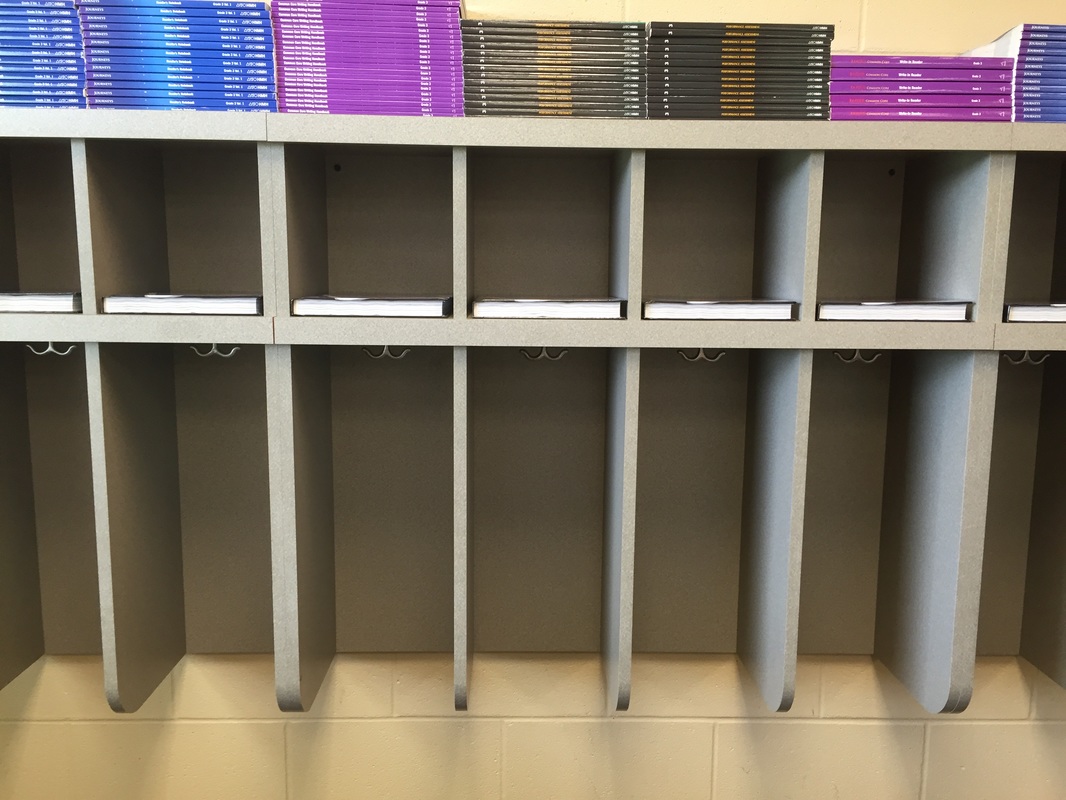
I try to store as many supplies as possible in our built-in cubbies. These now are labeled with my students' names. They keep textbooks and consumables in here, along with their planner and Take Home Folder. Their spiral notebooks would also fit here, but I keep those somewhere else! I figure that these cubbies are built into my room, and I'm going to use them as much as possible! If my students have any personal items they carry around (mostly water bottles, picture schedules, or behavior charts), they store those things here at the end of the day. Then, in the morning, they grab those items and take them to their new work spot.
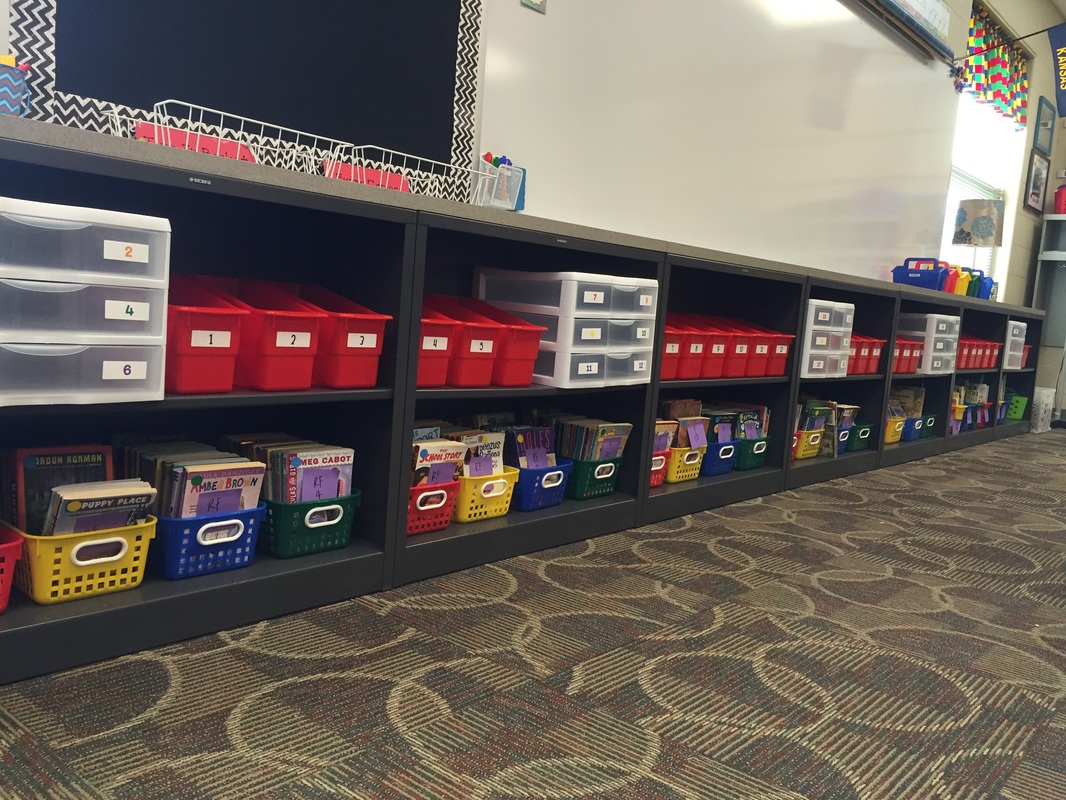 | 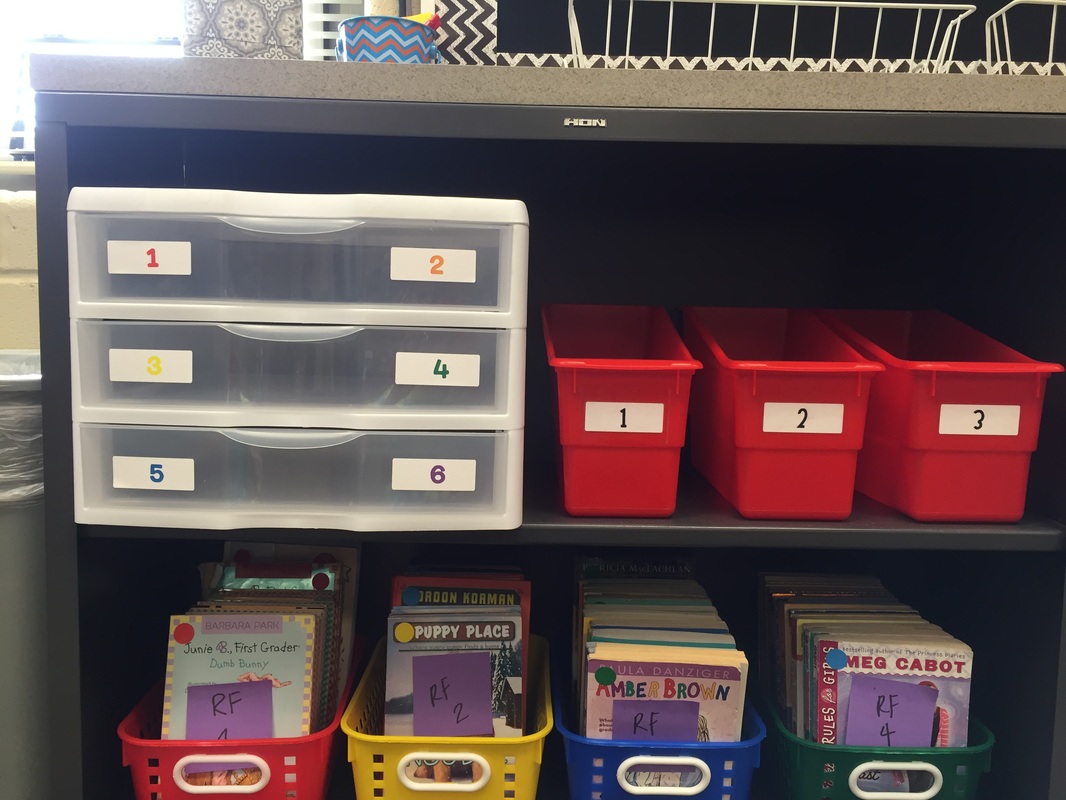 |
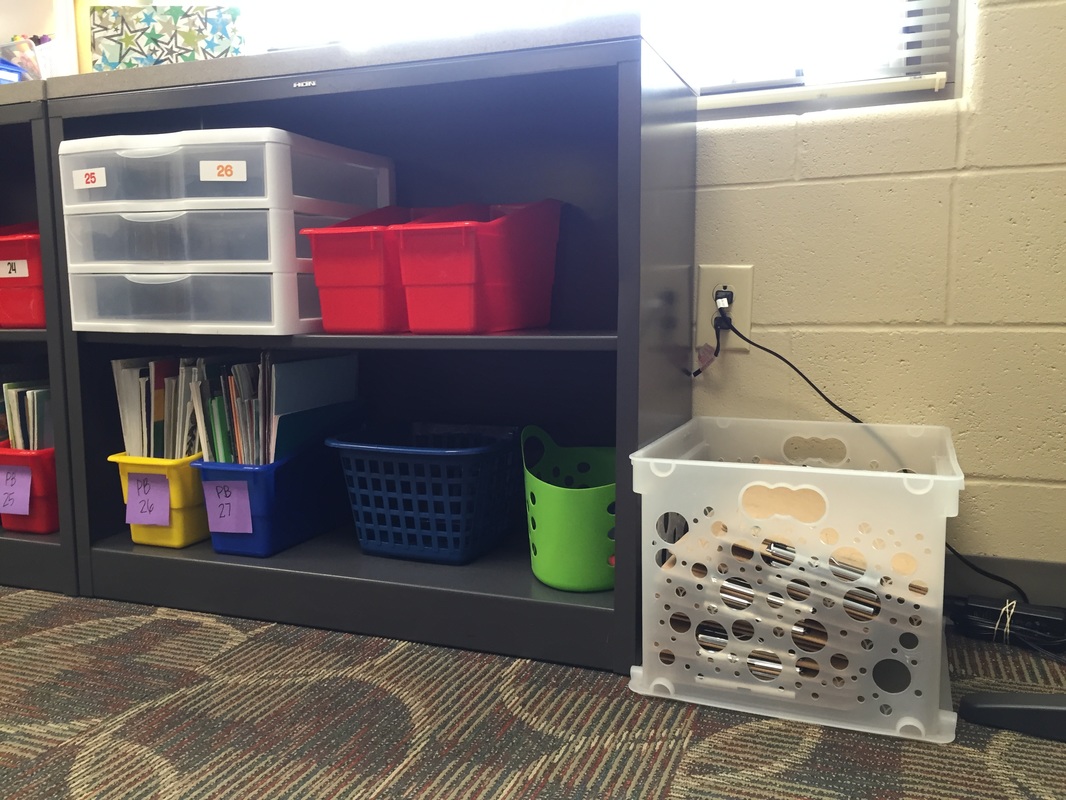
We use these drawers to store our Writing folders and Passion Project folders. The store-bought folders that the kids bring are too wide for our cubbies. So, I have drawers for pairs of students. I space the drawers out so I don't have too many kids going to one area at a time. I've had them all together before, and it was a mess! This system has worked well so far. It's the same idea with our red book baskets -- the more they are spaced out, the less congestion when getting them out! In our book baskets, we keep all materials that we need during Reading Workshop -- our Reading folders, Reading and Writing notebooks, and any independent reading books.
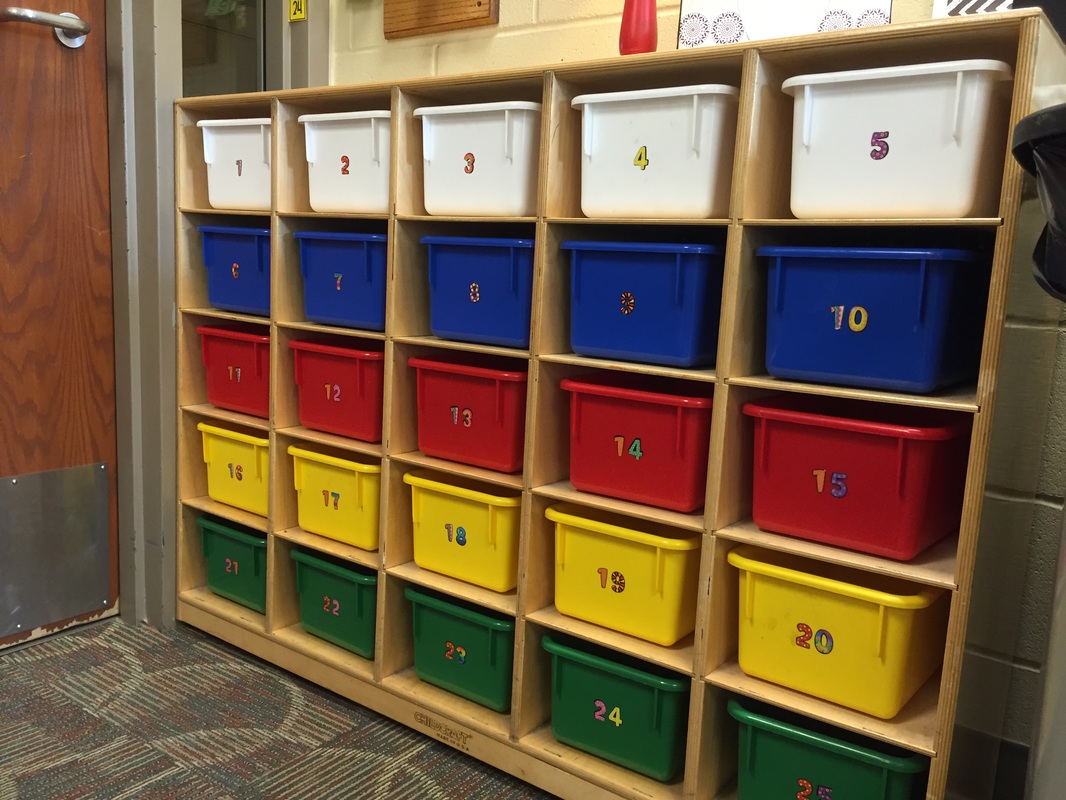
My students keep most of their art supplies in these tubs. The kinds of art supplies they bring can vary, so I like to let the kids keep these in an individual spot. They store their crayons, colored pencils, markers, and scissors here. This year, our supply list included earbuds for the first time. For now, we're keeping those here too.
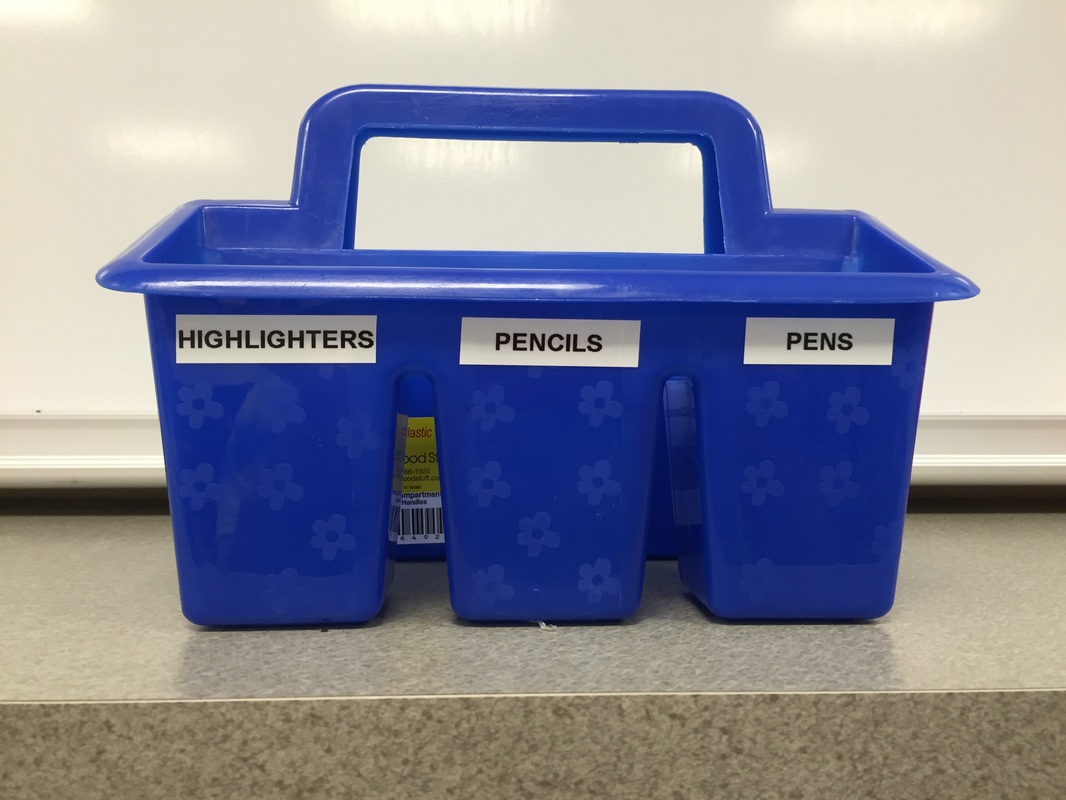 |  |
I have a supply tub on every table around our classroom. The labels help students remember where to put each supply, but I also have to teach and reinforce this at the beginning of each year. I also have 5 extra work tubs on a bookshelf. The students can take these tubs around the classroom when their working on yoga mats, bath rugs, or pillows. Two of my students are Material Monitors. Once or twice a week, they check the tubs and refill or reorganize them as needed. They are also in charge of sharpening our dull pencils. My tubs are from Really Good Stuff, but I have seen similar tubs at Target, Walmart, and Hobby Lobby!
A note on "special" pencils: Every year, I usually have 1 or 2 kids who have brought mechanical pencils or some other special pencils, and they do not want them in our community supply. I give these kids 2 options: 1) take them home and use them for homework, or 2) keep them in their art tub. If they choose to keep them in their art tub, they are completely responsible for getting them out and putting them away. However, they can still use our regular community pencils.
A note on "special" pencils: Every year, I usually have 1 or 2 kids who have brought mechanical pencils or some other special pencils, and they do not want them in our community supply. I give these kids 2 options: 1) take them home and use them for homework, or 2) keep them in their art tub. If they choose to keep them in their art tub, they are completely responsible for getting them out and putting them away. However, they can still use our regular community pencils.
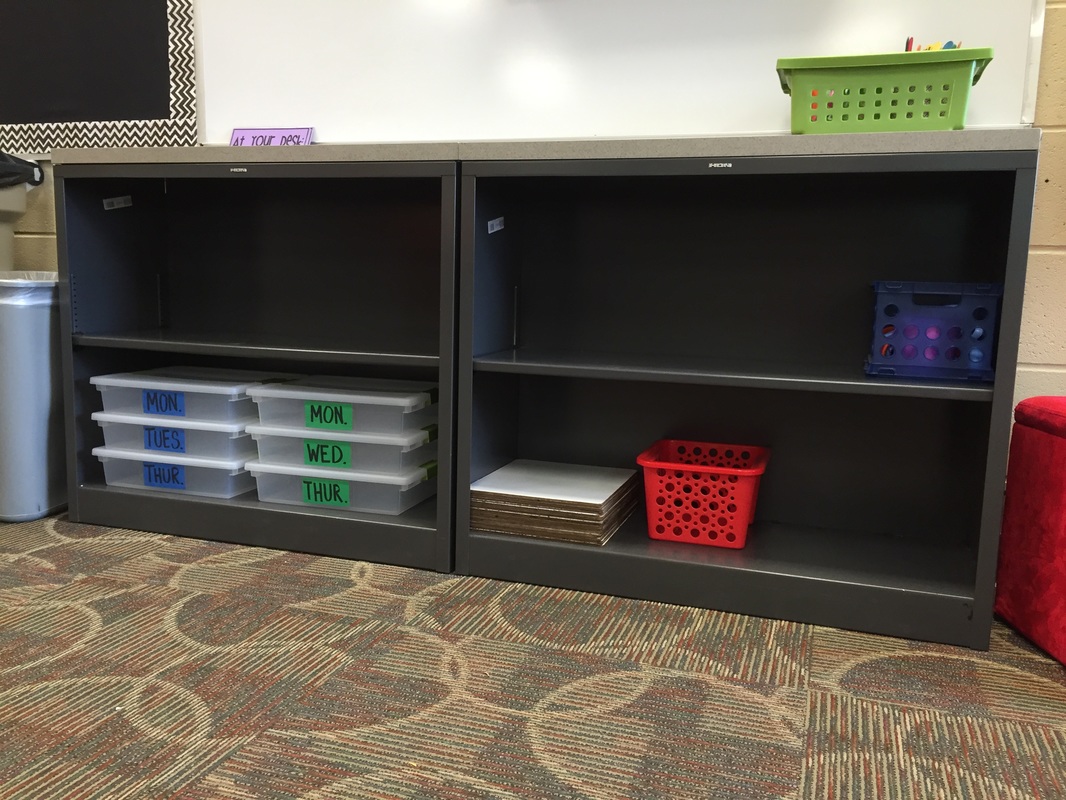 |  |
Finally, we have a few other community supplies placed around our room. By our whiteboards, we keep our red basket of dry erase markers. In the back of the room, we have a blue basket with all of our glue sticks. We also have big basket of clipboards that students can use when working around the room.
Managing Supplies
I am self-proclaimed OCD, and with our supplies all around the room, things can certainly get messy. I like to keep a neat room, so I use these strategies to help manage our supplies:
My #1 piece of advice: If a system isn't working for you, make a change to make it better! Just because you are using flexible seating, it doesn't mean that your classroom has to be a mess! It is very possible to still have an organized and neat classroom. It just takes a little bit of creativity!
Managing Supplies
I am self-proclaimed OCD, and with our supplies all around the room, things can certainly get messy. I like to keep a neat room, so I use these strategies to help manage our supplies:
- Have students get supplies in groups. I often dismiss kids to get their supplies in smaller groups. I'll send odd/evens, boys/girls, ranges of numbers (i.e. #10-17), or kids wearing a certain color. I also use the colors of their art supply tubs or the colors of their numbers on their drawers. After I send a group, I do a 10-second countdown to get them moving quickly.
- Train your students! My kids are used to putting things away in their desk, so I really have to train them on putting their supplies away around our classroom. At the beginning of the year, I try to be super clear about my expectations for supplies. We clean up a minute or two early for a while so I can go around, check tables, and give students feedback on how they cleaned up. I have to really remind them to push in their seating option! I also spend time showing them how to keep unfinished work or their book either right next to them or under the supply tub in the middle of their table. I try to have them keep these things in their book basket or In Progress folder as much as possible, but when there is an exception, they'll now know what to do. Visuals/pictures that show your expectations for tables and supply tubs can also be helpful at the beginning of the year.
- Use a hand signal. My kids are sitting all over my room, and it is sometimes hard to tell who is ready to go and who is not. I have them give me a thumbs-up in the air when they've followed my directions and are ready.
- Make "Mystery Scrap" your best friend. This is a strategy that I borrowed from a fellow teacher, and it is a life-saver for any classroom! At the end of the day, my two "Custodians" stand at the front of the room and pick something that is out of place or could be tidied up. When they are ready, I do a 15-second countdown and everyone rushes to clean up, hoping to get the mystery scrap. At the end of the countdown, the Custodians reveal who go their mystery scrap. If no one got it, I have them share so the kids know that they missed some things. The other day, my stack of whiteboards was a mess (which was a mystery scrap), and no one picked them up. The next day, I immediately had 3 or 4 kids rush to the whiteboards! I use Class Dojo in my room, so the kids who get the mystery scraps get a green dojo. You could even use this strategy twice a day -- right before lunch and at the end of the day.
My #1 piece of advice: If a system isn't working for you, make a change to make it better! Just because you are using flexible seating, it doesn't mean that your classroom has to be a mess! It is very possible to still have an organized and neat classroom. It just takes a little bit of creativity!

 RSS Feed
